Login: Access the ERP portal with your login credentials or rtCamp email ID.
Dashboard Overview: Once logged in, you’ll see your dashboard where you can view your leave balance, previous leave applications, and ToDo list.
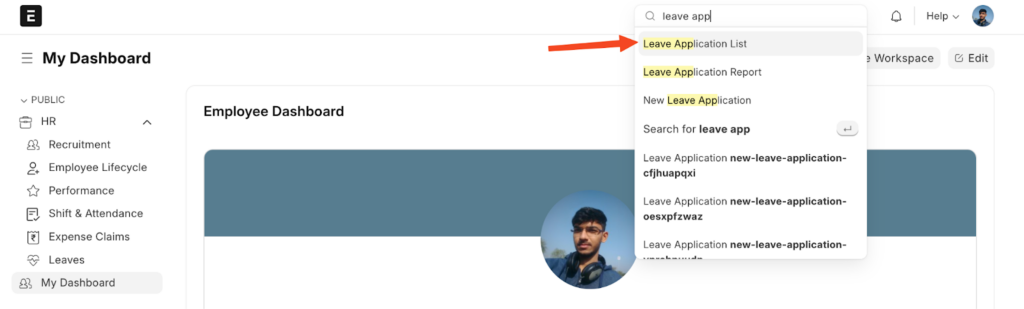
Start Leave Application: Go to “Leave Application” via Quick Links and click “Add New Application” (badge at the top right). The system will automatically populate your Employee ID and Name.
Select Leave Type: Choose from the dropdown list (Paid, Unpaid).
Select Dates: Choose the dates for your leave. For half-day leave, check the box below the date selection.
Reason: Add an appropriate reason for leave. You’ll receive an email notification once your leave is approved or rejected.
Note: The top section of your dashboard shows your allocated leave balance. Unpaid Time Off is not displayed, but everyone is eligible to take it.
Approval Notification: You’ll receive an email for each leave request, with direct links to either approve or reject the application.
Access Leave Application: Click the link in the email to navigate directly to the Leave Application. Use the “Actions” button to Approve or Reject the request.
Auto-Approval: If no action is taken within 24 hours, the system will auto-approve the application, and you’ll receive an email confirmation.
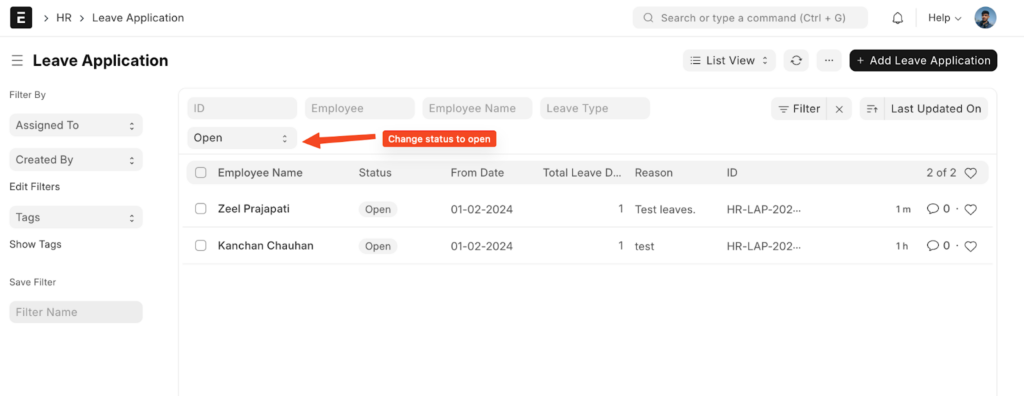
Viewing New Applications: To view pending leave applications, use the filter to set status as “Open.”